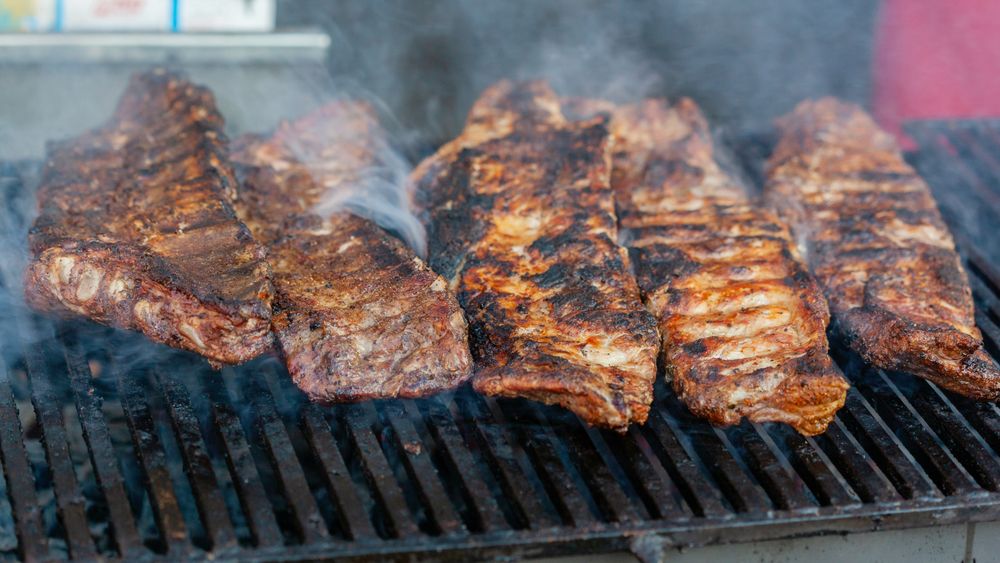
The short answer: Brush the grates briefly after every cook, empty the grease tray every 3 to 5 cooks, and do a deep clean with a burner check 2 to 3 times per season. This routine prevents not just rust and odours but also grease fires, which according to Stiftung Warentest (Germany’s consumer testing foundation) in 2026 were the main reason gas grills failed.
A clean gas grill is not an end in itself: according to Stiftung Warentest 04/2026, grease residue in the tray is the most common trigger of grease fires, and three rated models failed with “poor” in 2026 for exactly this reason. This guide shows you the quick routine for every barbecue evening and the thorough clean for the start of the season.
How do you clean a gas grill after every cook?
Right after grilling, while the grate is still warm, give it a quick brush. It takes 2 minutes and stops food residue from burning on. Here is how to do it properly:
- Heat the grill on high for 5 minutes (with no food on it) so grease residue on the grate loosens.
- Brush with a stainless steel or brass brush while the grate is still warm.
- Let it cool down and close the gas supply at the valve.
- Check the grease tray: if you can see grease, replace the disposable tray or empty the tray.
- Keep the lid closed to protect the grill from rain and insects.
How often does the grease tray need emptying?
Every 3 to 5 cooks, and at the latest when a visible layer of grease has formed. This is the most important safety step in gas grill care: built-up grease can ignite on hot burners, and a small flare-up quickly turns into a grease fire that engulfs the whole grill.
With models that use disposable aluminium drip trays, this is simple: take the tray out and put a new one in. With fixed metal trays, baking paper or aluminium foil as a liner helps: just replace it after every third barbecue instead of scrubbing the tray every time.
Deep clean: step by step
Two to three times per season (at the start, in the middle and when putting it away for winter) a thorough clean is worthwhile:
- Burn off: run all burners on the highest setting for 15 to 20 minutes with the lid closed. This carbonises grease residue on the grates and inner walls into ash that is easy to brush off.
- Let it cool down and turn off the gas bottle.
- Remove the grates and soak them: soak in warm water with washing-up liquid for 15 to 20 minutes, then brush them.
- Check the burners: check the nozzles for blockages (spiders like to build nests there that block the gas supply, a known safety risk). Carefully clear them with a needle or cleaning brush.
- Clean the grease tray completely: take it out, wash it with hot water and washing-up liquid, and let it dry thoroughly.
- Wipe out the interior: remove loose ash and grease residue with a cloth or hand brush.
- Clean the housing and lid on the outside: use a mild cleaner, and no abrasives on painted surfaces.
- Let everything dry before reassembling the grill, as moisture promotes rust on metal parts.
Home remedies or grill cleaner: which is better?
Home remedies are enough for most cleaning jobs and are cheaper; special grill cleaners are worthwhile for stubborn, burnt-on grease crusts.
| Product | Suitable for | Advantage | Disadvantage |
|---|---|---|---|
| Washing-up liquid + warm water | Grates, grease tray, light soiling | Cheap, available everywhere | Little effect on burnt-on grease |
| Bicarbonate of soda paste (bicarbonate + water) | Burnt-on grates | Gentle, no chemicals | Needs time to work (30+ min.) |
| Baking powder + vinegar | Grease tray, housing | Dissolves grease well, neutralises odours | Not for continuous use on aluminium |
| Special grill cleaner (spray) | Heavily burnt-on crust, interior of the grill cart | Fast effect, made for tough cases | Cost, often harsh chemicals, rinse well |
| Grill stone/pumice stone | Cast iron grates | Mechanical, no water needed | Only for uncoated cast iron |
For enamelled or coated grates, aggressive oven cleaners are usually too harsh and can damage the coating. Follow the manufacturer’s instructions in the manual.
What should you do in case of a grease fire?
Never put it out with water. Water scatters burning grease, evaporates explosively and flings burning droplets of grease in all directions, so the flames get bigger, not smaller. Here is the right way to respond:
- Shut off the gas supply immediately at the bottle valve.
- Close the lid to cut off the fire’s oxygen.
- If flames are visible: smother them with a grease fire extinguisher (fire class F) or, failing that, dry sand. Never use water or a normal foam extinguisher.
- Push the grill away from the house if it is on wheels and the situation allows it.
- If in doubt, call the fire brigade, especially if there are flammable materials near a balcony or terrace.
The best protection is prevention: a regularly emptied grease tray prevents most grease fires in the first place.
Typical cleaning mistakes
- Grease tray not emptied for weeks: the biggest avoidable safety risk on a gas grill.
- Brushing a cold grate instead of a warm one: grease residue comes off much more easily when warm.
- Aggressive wire brushes with loose bristles: they can break off and end up in your food. Bristle-free brushes are the safer choice.
- Ignoring the burner nozzles: clogged nozzles lead to uneven heat distribution and poorer combustion.
- Storing it wet: moisture on metal parts promotes rust, so dry thoroughly, especially before putting it away for winter.
Conclusion: a short routine instead of a big operation
The best gas grill care is the one you actually keep up: 2 minutes of brushing after every cook, an emptied grease tray every few cooks, and two to three deep cleans per season with a burner check. This protects the lifespan of your appliance and also guards against the biggest safety risk on a gas grill: the grease fire. If you have not yet decided between gas and charcoal, the comparison gas grill or charcoal grill covers the cleaning differences between the two systems in detail. The gas grills category shows suitable appliances.