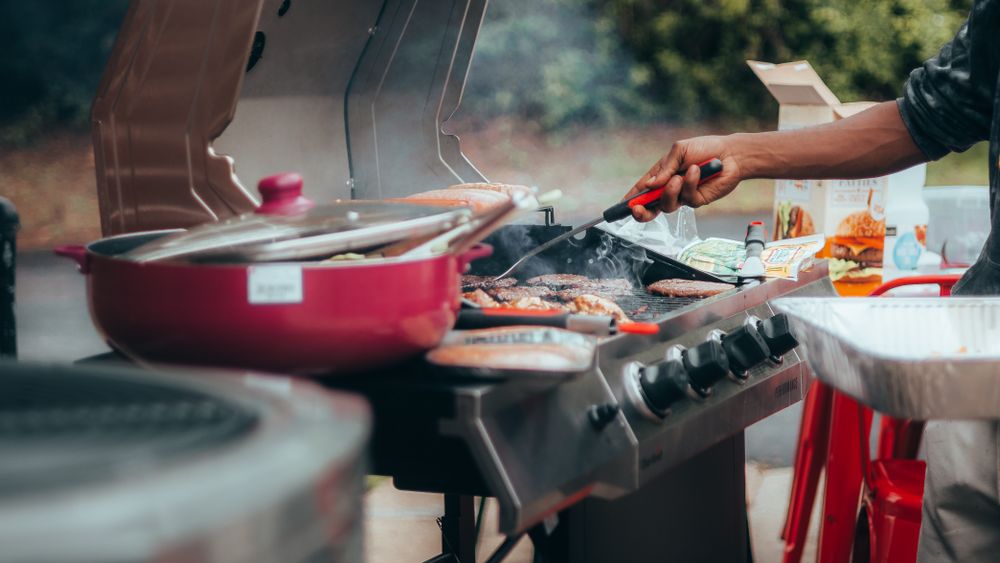
The short answer: Winterising a grill means: degrease it thoroughly once, dry it completely, oil the grates, remove ash and pellets entirely, take out the batteries and remove the gas hose, and store the unit dry. The gas bottle stays outside, never in the cellar. The effort is one to two hours and decides whether the grill runs straight away in spring.
Most winter damage to a grill is caused not by frost and not by rain, but by what was still inside in October. A half-full ash tray, a film of grease on the flame tamer, a handful of pellets in the hopper: over five months of standing, that turns into pitting, a blocked damper or an igniter that no longer clicks. If you put the grill away properly once, you save yourself the spare parts catalogue in April.
Why winterising cleaning matters more than any interim clean
Because in winter the heat that normally dries everything off again is missing. A grill that reaches 250 degrees every few days during the season burns off residue and drives moisture out of every crevice. From October the same unit stands cold, often with condensation on the inner surfaces, and it does so continuously for five to six months.
That is exactly where residue becomes a problem. Grease soaks up humidity and holds it as a permanently damp film right on the metal. Salt and marinade residues are even more aggressive: the chlorides they contain attack stainless steel as well and trigger spot corrosion that is hard to see from the outside until the rust breaks through. Ash works in the same way, only more strongly, because it literally attracts moisture and then acts on enamel and sheet metal as an alkaline.
That is why winterising cleaning is not a bigger brush-down but a real deep clean with the goal “dry and free of residue”. How this deep clean works technically on a gas grill, from burning off to the drip tray, is covered in detail in Cleaning a gas grill. Here we cover the steps that come on top once the unit is not touched for half a year.
In what order do you winterise the grill?
From the inside out, and always with drying as the last step. The order matters because every cleaning step introduces moisture and you want a completely dry unit at the end. Allow one to two hours, half of it waiting time.
- Burn off one last time. Gas grill 15 to 20 minutes on the highest setting with the lid closed, charcoal grill with the last embers. This carbonises grease residue into ash that can be brushed off.
- Let it cool down and disconnect the energy source. Close the bottle valve, pull the mains plug, and only then carry on.
- Remove the grates and inserts and clean them separately. For heavily burnt-on grates, the method in the guide Cleaning a burnt-on grate helps.
- Empty the cooking chamber. Remove all ash, take out the drip tray completely and wash it, brush the flame tamer and flavour bars, and clear flaking soot layers from the inside of the lid.
- Wet cleaning only where necessary. Hot water with washing-up liquid is enough in most cases. Electronics, the igniter and heating elements stay dry.
- Let everything dry completely. Leave it open for at least a day, or dry it with the grill itself: on gas, ten minutes on a low flame with the lid open.
- Protect the metal. Oil cast iron and bare steel grates thinly, treat bare damaged spots, clean the lid seal.
- Reassemble, remove batteries and hose, store. Only now does the cover go on or the grill go into the storage room.
An honest note on this: if you keep grilling through winter, you do not need this programme. Then the normal clean plus weather protection is enough, and the unit stays ready for use. What to watch for is covered in the guide Winter grilling. Full winterising is worthwhile for everyone who really will not touch the grill until spring.
What does your type of grill specifically need?
The basic clean is the same for all of them, the critical extras are not. On gas it is about nozzles and electronics, on charcoal about ash, on pellet about swelling, on ceramic about frost.
| Grill type | What must come out or off | Also check | Most common mistake |
|---|---|---|---|
| Gas grill | Empty the drip tray, unscrew hose and regulator, take the battery out of the igniter | Burner nozzles clear, flame tamer brushed, ignition electrode clean and dry | Grill is covered while the drip tray is still half full |
| Charcoal and kettle grill | All ash out of the bowl and ash pan, remove charcoal remains | Vent dampers at top and bottom move freely, lid handle and screws tight | Ash is only roughly swept out, the rest draws moisture |
| Pellet grill | Pellets out of hopper and auger, empty the fire pot, pull the mains plug | Igniter rod, fan and controller dry, ash flap clear | Leftover pellets stay in, swell and block the auger |
| Kamado and ceramic grill | All ash out, remove fire ring and grate support | Lid seal for brittleness, steel band and hinge for tension | Ceramic is stored wet, absorbed water bursts it in frost |
| Electric grill | Empty the drip tray, remove cable and plug and store indoors | Heating element for damage, cable for chafing | Heating element goes into the washing-up water instead of just being wiped damp |
Two points are non-negotiable regardless of type. First: a charcoal or gas grill never belongs in enclosed rooms, not even for burning out or cooling down, because dying charcoal gives off odourless carbon monoxide. Second: grease catches fire during the last burn-off just as it does in July. Water is not an extinguishing agent here; the right response is to turn off the gas, close the lid and shut the air supply.
Where does the gas bottle go over winter?
Outside, upright, secured and ventilated. Propane and butane are heavier than air. If gas escapes, it does not rise but collects at the lowest point of the room and stays there. That is why a gas bottle has no place in a cellar, a garage below ground level, a hallway, a living space or an attic. Not “just for the winter” either, and not when it is almost empty: an almost empty bottle still contains an ignitable mixture.
Stored correctly, the bottle stands outdoors or in a well-ventilated cabinet with openings at floor level, always upright and secured against tipping over. You should avoid direct sunlight in winter too, because the internal pressure changes with temperature. A valve protection cap or a cover keeps moisture and dirt out of the thread.
Hose and pressure regulator, on the other hand, come off and go indoors. Both age much faster than the metal through UV light and cold, and one winter outdoors is enough to make a hose brittle. Remove them when winterising, check the hose in good light for cracks, porous spots and kinks, and look at the printed date. If the hose is older than the period stated by the manufacturer, replace it straight away when putting the grill away rather than in April under time pressure. Which bottle size, regulator and connections belong together is covered in the guide Gas bottle for the grill.
Does the grill really have to be out of the rain over winter?
Not necessarily, but every metre towards dry pays off. A clean, dry and covered grill will survive a winter outdoors as well. The ranking is still clear, and the difference between first place and fourth place is in the end the lifespan of the screws, dampers and sheet metal edges.
| Storage location | Advantage | Disadvantage | Suits |
|---|---|---|---|
| Dry indoor space, cellar or storage room | no moisture, no temperature swings, no UV | takes up space, smell, gas bottle must not come in | Charcoal grill, electric grill, units that can be dismantled |
| Unheated garage or garden shed | weather-protected, frost-free to moderately cold | condensation with temperature swings, rodents on cables | almost all types, gas grill only without the bottle |
| Covered terrace with breathable cover | no driving rain, grill stays ready for use | humidity stays high, leaves and dirt | Gas grill, heavy trolley models |
| Freestanding with breathable cover | no effort, no space needed | condensation under the cover, wind lifts it | sturdy units in stainless steel or enamel |
| Freestanding without protection | none | water stands in the bowl, dampers and screws seize | not recommended |
Kamados are the special case: ceramic absorbs water, and freezing water in the structure can make it spall. A kamado should therefore either stand dry or at least be covered so that no water runs into the bowl. The lid stays closed on all grill types so that neither rain nor leaves get into the cooking chamber.
Is the grill cover protection or a rust accelerator?
Both, and the difference lies solely in how you use it. A cover over a completely dry, cold grill keeps out rain, leaves, bird droppings and UV. The same cover over a grill that is still damp or even warm becomes a vapour barrier: the residual moisture cannot escape, condenses on the inside and drips back onto the metal. Under an airtight plastic sheet, a microclimate develops over the months that does more damage than open rain.
Three rules make the difference. First: only onto a completely cold and dry grill; if in doubt, leave it open a day longer. Second: a breathable cover with vents instead of a tight film, and a material that does not rub directly on the painted surfaces. Third: on a few dry days in winter, take the cover off and air the grill out, which is already enough.
What you should never do: pull a building sheet or a bin bag airtight over the unit and tie it down at the bottom. This very combination of residual moisture and missing air circulation is one of the most common triggers of surface rust on the lid rim. What to do if it has happened anyway is covered in Rusty grill: what to do.
Rust protection: which care product goes where?
A thin oil film on the grates, a care product on stainless steel surfaces, nothing greasy on seals, and never penetrating oil from the workshop on cooking surfaces. The choice is small, and the most common mistakes come from the wrong product in the wrong place.
| Product | Goes on | Does not go on | Note |
|---|---|---|---|
| Neutral vegetable oil with a high smoke point | Cast grates, bare steel grates, cast iron pans | enamelled or coated grates | apply very thinly and wipe off excess oil, otherwise it turns gummy |
| Seasoning with oil under heat | Cast iron without enamel | Stainless steel, enamel | creates the protective patina, which is the actual barrier layer in winter |
| Stainless steel care or polish | Lid, front, side shelves in stainless steel | Interior, grates, anything in food contact | protects against surface rust from outside, roughly €8 to €20 |
| Silicone-based seal care | Lid seal, rubber feet | Burners, ignition electrode | keeps the seal supple, prevents sticking over winter |
| Desiccant bags or silica gel | Cooking chamber, closed compartments in the grill cart | open outdoor locations | only useful with the lid closed, remove the bags in spring |
| Penetrating oil from the workshop | Hinges, casters, seized screws from outside | Grates, cooking chamber, anything in food contact | not heat-resistant and not intended for food |
Enamelled and coated grates need no oil film, they only need an intact coating. Check them for chips when winterising, because that is where rust starts. You will find matching brushes, covers, oils and spare parts collected under Grill accessories compared.
Spring start: what you check before the first lighting
Do not light it and see, check first. The most important point on a gas grill is the venturi tubes, the tubes between gas valve and burner. Spiders like to build nests there, and a blocked tube backs up the gas so that it ignites outside the burner. This is a known and well-documented problem that many manufacturers expressly mention in their instructions. A look with a torch and a suitable tube brush deal with it in five minutes.
You work through these points in order:
- Visually check venturi tubes and burners, remove nests, dirt and insects, clear the burner holes.
- Fit hose and regulator and check the hose once more for cracks and date.
- Leak check with soapy water: open the bottle valve, keep the grill burners closed, brush the connections at valve, regulator and hose. Bubbles mean a leak; then close the valve immediately and retighten the connection or replace the part. Never search with a flame.
- Put the battery into the igniter, check the ignition electrode for corrosion and check the spark once.
- Insert the drip tray, refit the flame tamer and flavour bars, check grates for rust and chips.
- Check seals and dampers: lid seal for cracks, vent dampers on the charcoal grill for free movement, check casters and brakes.
- On a pellet grill, start empty first: fill with fresh pellets, let the auger feed and check the ignition process without food.
- First lighting with the lid open, then let it run hot empty for 15 to 20 minutes so that oil film and dust burn off.
If you notice anything along the way, the spring check is the right time to act. A brittle hose, a cracked seal or a rusted-through ash pan are easy to replace in March without time pressure, but not in June with guests in the garden. And if you put the grill away clean, dry and without pellets, ash or batteries, you will usually find nothing at all in this check.