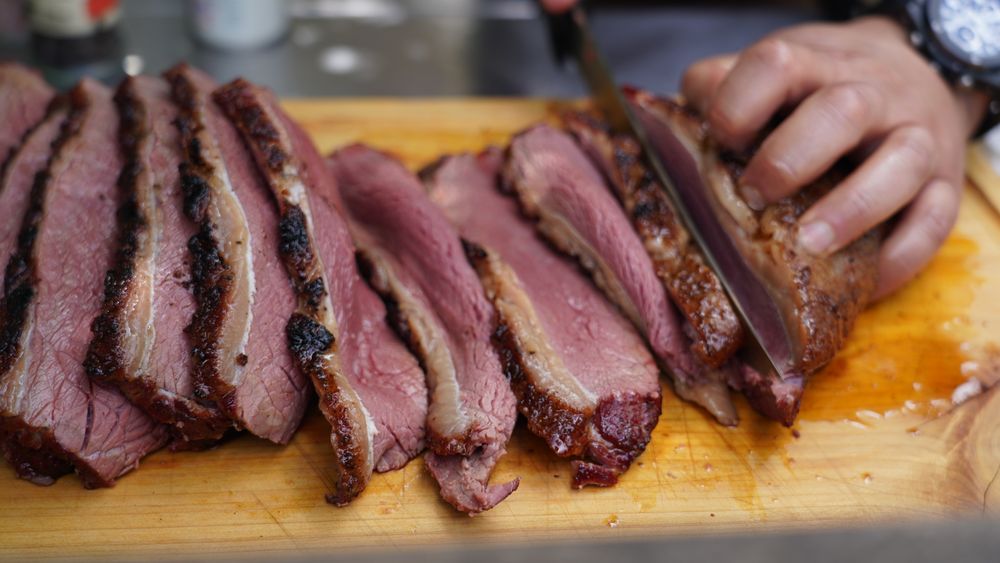
The short answer: A smoker cooks meat at 100 to 130 °C for hours using smoke rather than direct heat, which is ideal for brisket, pulled pork and ribs. For getting started, a water smoker or compact offset with a wall thickness of at least 3 mm is best; budget €200 to €400 for the unit and a learning curve of 3 to 5 sessions until temperature control feels natural.
Low & slow sounds like a ritual, but it is mainly physics: collagen in tough cuts of meat needs hours at low heat to turn into gelatine. A smoker provides exactly these conditions, plus real smoke flavour that no oven can deliver. This guide explains the three common designs, helps you choose, and takes you through your first 3-2-1 session.
Which smoker type suits beginners?
The easiest way to start is with a water smoker or pellet grill, as both are more forgiving of mistakes than a classic offset smoker. The three designs differ greatly in effort and results:
| Design | How it works | Learning curve | Price (entry level) |
|---|---|---|---|
| Water smoker (bullet) | Vertical chamber, water pan buffers the temperature | low | €100 to €300 |
| Offset smoker | Separate firebox, smoke travels through the cooking chamber | high | €250 to €600 |
| Pellet grill (as a smoker) | Auger and electronics regulate the temperature automatically | very low | €600 to €1,000 |
The water smoker, for example modelled on the Weber Smokey Mountain, is the classic entry point: the water pan between the embers and the meat stabilises the temperature, so you need to adjust less often. The offset smoker delivers the most intense smoke flavour and the real pitmaster feel, but demands constant attention to air supply and adding wood. If you want to hand over fire management completely, a pellet grill is the better fit: the electronics keep the temperature steady, though with a milder smoke note.
What wall thickness should a smoker have?
At least 3 to 3.5 mm, and ideally 4 to 6 mm for offset models. This is the buying criterion beginners overlook most often, and it decides whether your first season is relaxed or frustrating.
Thin metal under 3 mm noticeably loses heat in wind, rain or temperatures below 10 °C. The result: you have to keep adding wood, the temperature swings by 20 to 30 °C, and the meat cooks unevenly. Cheap entry-level offsets such as the El Fuego Dakota (under €200) often come with 2 mm walls. That works, but it demands more patience and readjusting than a model with 3.5 mm. Weigh this criterion more heavily than looks or the amount of accessories.
How long does pulled pork take in a smoker?
At a cooking chamber temperature of 110 to 120 °C, allow 1.5 to 2 hours per kilogram of pork shoulder, so 5 to 7 hours for a 3 kg piece, though often longer. The core temperature is the only reliable indicator, not the clock.
Between 65 °C and 75 °C the core temperature often stays almost unchanged for over an hour. This is the so-called stall, caused by evaporative cooling at the surface offsetting the heating. It is normal, not a mistake. Only at 92 to 95 °C has enough collagen turned into gelatine for the meat to pull apart effortlessly. If needed, wrap the meat in butcher paper or aluminium foil (Texas crutch) to shorten the stall. You can find exact target values for all types of meat in the core temperature chart.
What is the 3-2-1 method for ribs?
The 3-2-1 method is the foolproof beginner’s recipe for spare ribs at a steady 110 to 120 °C:
- Smoke uncovered for 3 hours: ribs directly on the grate, with smoke and heat working on bark and flavour.
- Cook in aluminium foil for 2 hours: wrapped with a little apple juice or butter; this is where the meat becomes especially tender.
- Finish uncovered for 1 hour: unwrapped, optionally brushed with barbecue sauce so the surface regains some bite.
Baby back ribs are often done after just 2-1-1, because they are thinner and more tender than spare ribs. After the foil phase, do the bend test: if the ribs hold in the middle when lifted, without falling completely apart, they are perfect. If the surface between the bones tears easily, they are done.
Which wood is suitable for smoking?
For most beginners, beech and oak are the safest all-rounders: mild enough not to spoil anything, but with a noticeable smoke flavour. Some variation is worthwhile depending on the type of meat:
- Beech/oak: neutral and universally usable, the standard for getting started.
- Hickory: strong, classic US barbecue flavour that suits ribs and brisket.
- Cherry/apple: mild, slightly sweetish note, ideal for poultry and pork, and it also gives a nice reddish colour.
- Softwood (spruce, pine): absolutely off limits. The resin it contains produces bitter, inedible smoke.
Use only dry, untreated wood. Fibres or remains of varnished or pressed wood do not belong in the smoker.
How do I keep the temperature in my smoker steady?
Through the air supply, not the amount of fuel. More open vents mean more oxygen and a higher temperature, while opening them less lowers it. These rules help when you are starting out:
- Build a small, stable bed of embers instead of lighting a huge amount of coal at once.
- Add single logs as soon as the flame dies down, never several at once, as that creates heat spikes and dense, bitter smoke.
- Set the lower vent roughly, and only fine-tune the upper one.
- Place an additional barbecue thermometer at the grate. The factory lid gauge on many entry-level smokers often deviates by 10 to 20 °C from the actual grate temperature.
- Open the lid as rarely as possible. Each opening costs 10 to 15 minutes of temperature recovery (“If you’re lookin’, you ain’t cookin’”).
Typical beginner mistakes when smoking
- Too much smoke at once: thick, white smoke tastes bitter. Thin, almost transparent blue smoke is the goal.
- Cooking by time instead of core temperature: every cut of meat reacts differently to the stall, and only the probe shows true progress.
- Adding fuel too late to a bed of embers that is too small: this leads to temperature drops from which the smoker recovers only slowly.
- Putting meat on straight from the fridge: this lengthens the cooking time unnecessarily, so let it come up to temperature for 30 to 60 minutes.
- Impatience when resting: after cooking, let it rest for 15 to 30 minutes (longer for large pieces), otherwise the juices run out when you slice it.
Conclusion: patience beats technique
In the first sessions, a smoker demands more attention than any other type of grill, but it is exactly this fire management that ends up appealing to barbecue fans. Start with a water smoker or compact offset with solid wall thickness, plan your first 3-2-1 session for a day when you have time, and trust the core temperature rather than the clock. You can find all suitable models in the smoker overview; if you are unsure whether offset, water smoker or pellet suits you, the grill finder can help in just a few questions.